
One of the most practical and straightforward ways to style your hair is to curl it with a straightener. This technique allows you to create a range of stylish looks, from a relaxed beach wave to a bold, Hollywood-inspired curly style. Although it might seem a bit daunting at first, it’s actually a very convenient and effective way of doing curls if you’ve learned it well enough. With a little practice, you’ll be able to make the switch to a curling iron in no time. This comprehensive tutorial will walk you through the whole process, from hair treatment to final style tips, so you can achieve stunning curls at home with ease. By the time you’ve finished reading this guide, you’ll have the confidence and know-how to style your hair perfectly.
Step-by-Step Preparation for Curling Hair with a Straightener
It’s not just about the actual technique in curling, either! It’s important to get your preparation right if you want to succeed at curling. If you prepare well, you can keep your curls intact and cut down on the damage caused by heat.
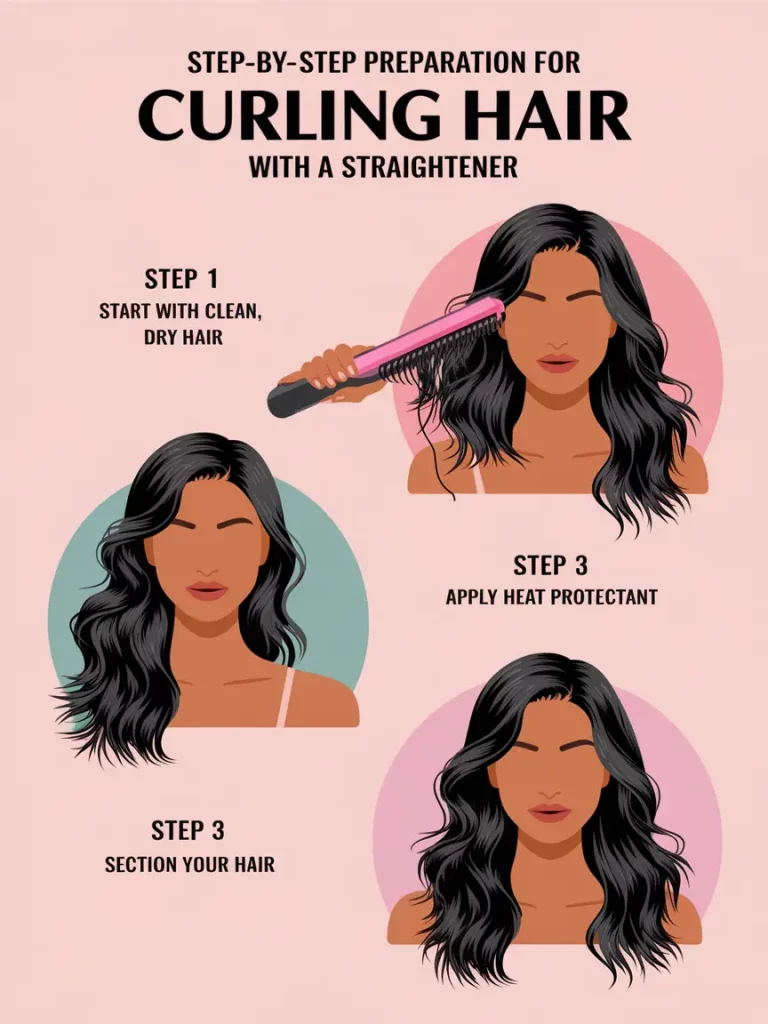
Step 1: Start with Clean, Dry Hair
It’s a good idea to look for a good shampoo and conditioner. If you’re not sure which product to use, you can try a volumising shampoo for added lift and volume, or a strengthening shampoo if your hair tends to break. For the best results, make sure your hair is completely dry before using heat devices. The heat from wet hair can create steam and damage the ends, so it’s best to let your hair dry out a bit first.
Step 2: Apply Heat Protectant
Heat protectants are a must for keeping your hair safe from too much heat, which can cause damage, splits and frizziness. If you have normal hair, use a fine or medium-hold hairspray. Or you could use a heat protectant with protection and moisture-adding properties, which could be just what you need for coarse and thick hair types.
Step 3: Section Your Hair
The key to getting great curls is to get the hair sections right, make sure they’re all the same size and shape, and that they’re formed correctly. To begin, cut your hair into horizontal layers separately using clips to keep the sections apart. If you have finer hair, you can get the most out of curling it by using smaller sections. This will help to define the curls more. On the other hand, the thicker your hair is, the more you need to define the curls. By splitting up the sections, you can get more defined curls. For finer hair, make the sections smaller, and for thicker hair, make them bigger. This will give the curls a looser look.
Table 1: Heat Protectant Recommendations Based on Hair Type
| Hair Type | Recommended Heat Protectant | Features |
|---|---|---|
| Fine Hair | Lightweight spray | Protects up to 450°F |
| Thick Hair | Oil-based product | Adds moisture and shine while protecting from heat |
| Curly Hair | Hydrating treatment | Provides extra hydration and frizz control |
Mastering the Curling Technique
First, make sure you’ve followed the right steps for your hair before you start curling it. There are lots of different techniques you can use, depending on the type of curl you’re after. I’m putting together a draft that I think will be the best and can be used with most hair types most of the time.
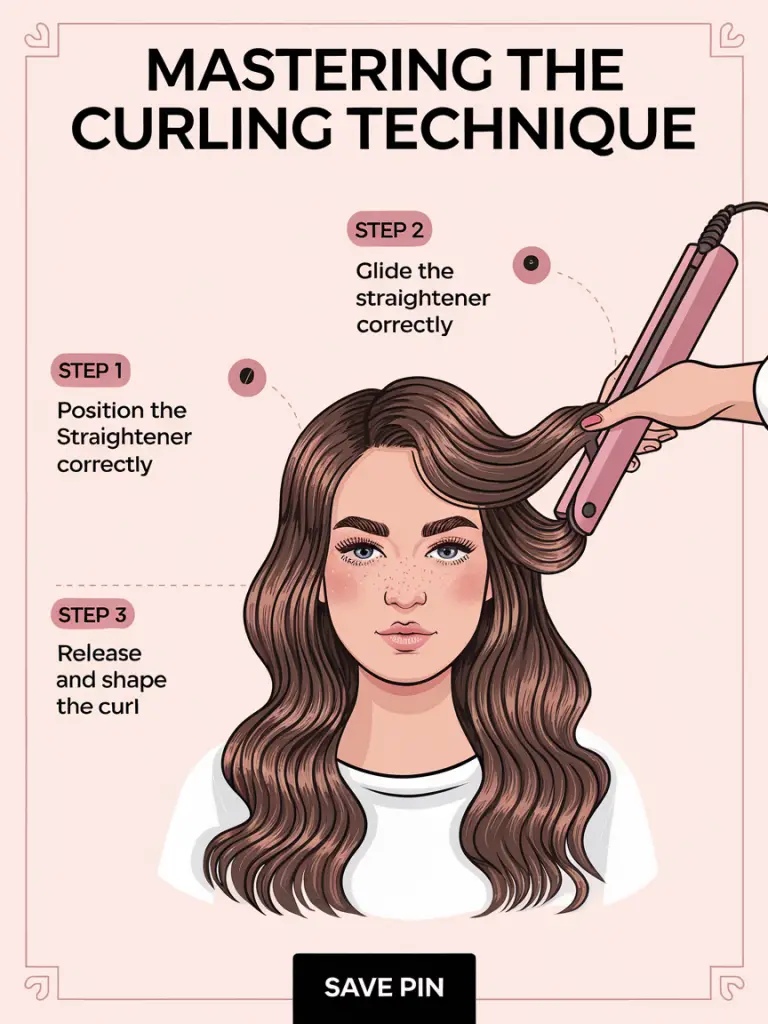
Step 1: Position the Straightener Correctly
As you run the straightener through 1-2-inch sections close to the roots, just a heads-up that you shouldn’t be touching the straightener directly to the scalp, but rather near the roots. Just lean in and clamp the hair, then rotate the straightener 180° into your absence. This movement gives your hair a new lease of life, instantly creating those gorgeous curls. To get more volume, just brush the straightener upwards. Or, if you want to style your hair into loose waves, hold the device at an angle.
Step 2: Glide the Straightener Down the Hair
If you’re careful when you’re straightening your hair, it’ll take about as long as combing it if you’re moving it from neck to shoulder. Just to let you know, don’t open the straightener to the side of the mirror. Just keep it close to your hair and move it down the end. Just hold the device up against your hair for a quarter of a second. Repeat the motion from space 10 to 9 inches above the desk.
Step 3: Release and Shape the Curl
If you want to make a few final adjustments to your hair, you can still do that. Once you’ve reached the ends of your hair, just let go of the straightener and catch the curl in your hand in no time. Grab a little bit of hair at the top of the curl and pull it in the direction you want the curl to go. Then pinch the curl with your fingers, or flex your fingers to shape it. Just a heads-up: You’ll need to wait until the curl cools down for this to work.
Styling and Setting Your Curls
Once you’ve got all your hair curled, the next thing to do is style and set it so it lasts as long as possible.
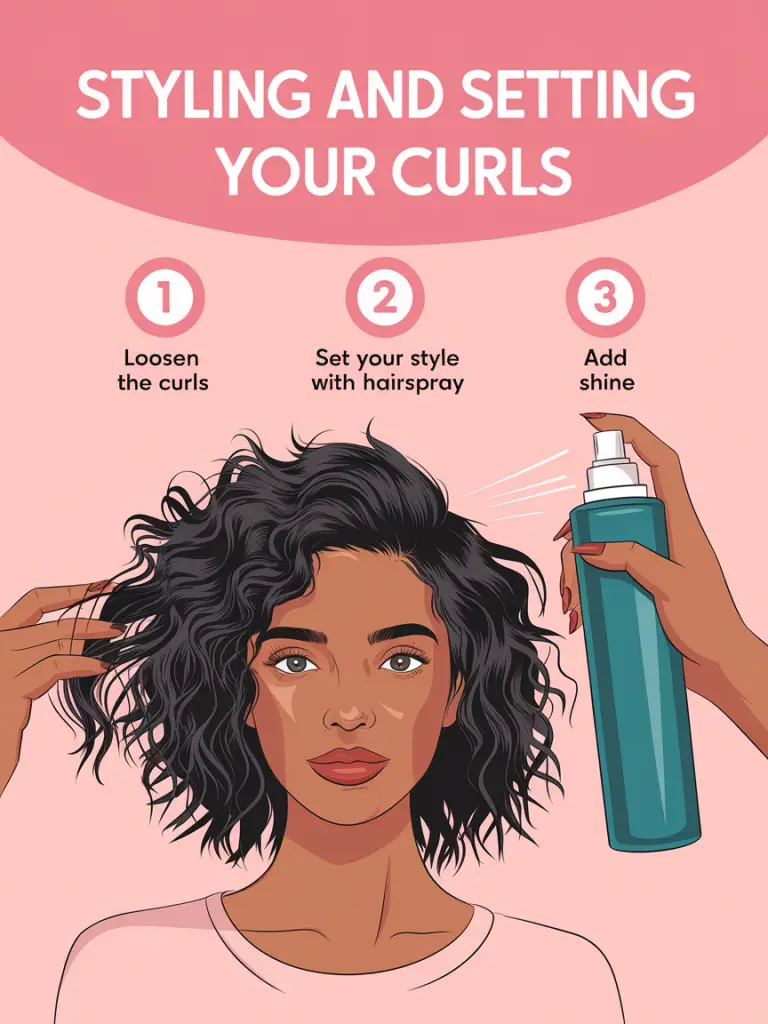
Step 1: Loosen the Curls (Optional)
If you want your hair to have a more relaxed, wavy beach look, you can use your fingers or a wide-toothed comb to separate and loosen the curls a bit. This will give you a softer, more natural look.
Step 2: Set Your Style with Hairspray
Just spray a little light-hold hairspray on your curls to set them. To add more volume, just hang your head down and spray the underside of your strands. This technique lifts the hair at the roots, so it doesn’t get pulled down by its own weight.
Step 3: Add Shine (Optional)
If you want your curls to be shiny and glossy, try applying a little oil or serum to your hair ends. It’ll give you a great look. Hair oils don’t just give your hair a shiny, smooth finish; they also protect it from flyaways.
Curling Techniques and Desired Effects
You’ll find a quick reference guide below that shows all the curling types and the looks they create. This should help you choose the right one for your needs and see what effect each one has.
| Technique | Effect |
|---|---|
| Curl Away from the Face | Creates a more open, voluminous look |
| Curl Toward the Face | Produces a tighter, more defined curl |
| Vertical Sections | Results in natural, beachy waves |
| Horizontal Sections | Creates voluminous, plump curls |
Conclusion
Knowing how to straighten your hair with a straightener is a really useful skill that can be used to create all kinds of different hairstyles. It takes time and practice to learn the technique, whether you prefer delicate curls or more defined styles. If you follow the steps in the guide and make sure you prepare your hair properly, you can easily achieve long-lasting curls. The different styles you can create with different section sizes, curl directions and straightener angles are the ones that will suit you best. Enjoy styling your curls!
FAQs
Can I use any straightener to curl my hair?
Yes, you can use a straightener to curl your hair. If you use a straightener with rounded edges, you’ll get smoother, more balanced curls.
How can I make my curls last longer?
I’d suggest using a heat protection spray with a heat protectant and hairspray to help. Also, wait until they’ve cooled down before you let your curls touch them.
How do I avoid frizz when curling with a straightener?
Utilize a small dosage of the hair oil or conditioner to smooth out the frizz and add some shine after curling.
Is curling with a straightener damaging to hair?
Any heat method can cause breakage, but you can cut it down by applying a heat protectant and using the straightener at the lowest temperature that is needed.
Can I curl my hair if it’s short?
Yeah you! When dealing with short hair, the trick is to use a straightener with the narrow plates so that curls can be controlled better and be tighter.