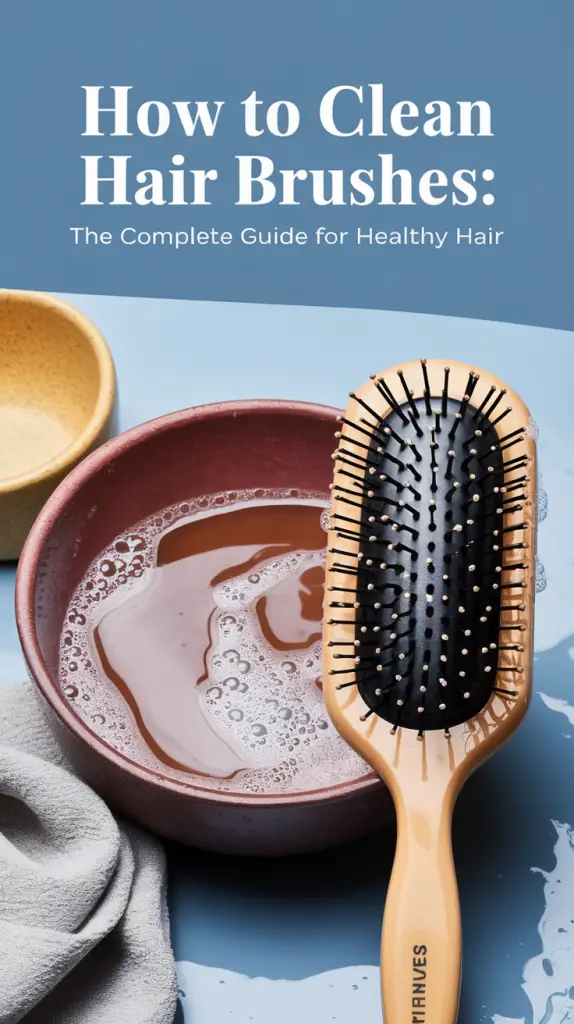
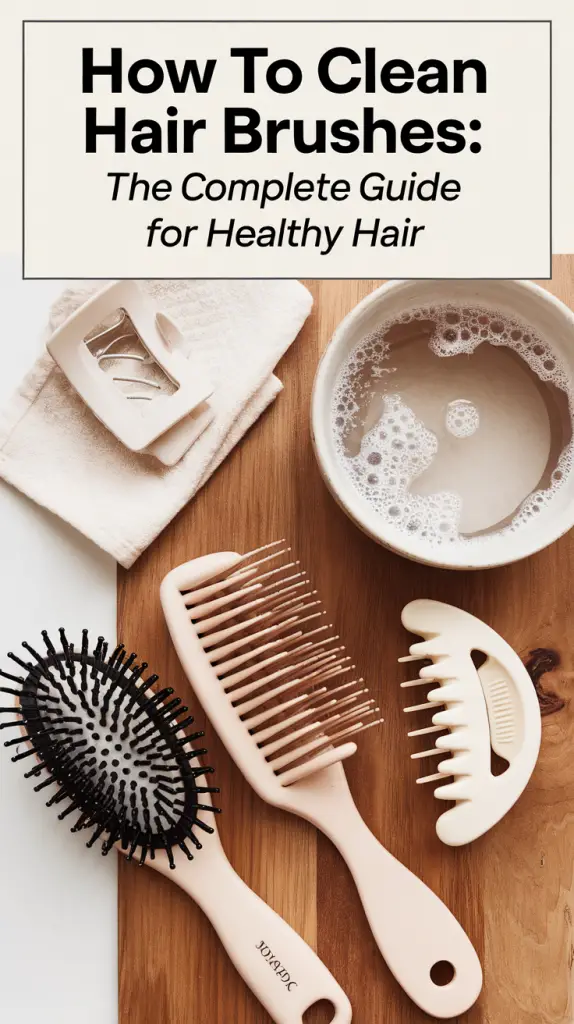
How to Clean Hair Brushes: The Complete Guide for Healthy Hair
Keeping your hairbrush clean is one of the easiest yet most effective ways to maintain healthy hair and a clean scalp. Over time, your hairbrush picks up oils, dirt, and product residue, which can transfer back into your hair, leading to a dull appearance and potential scalp issues. Cleaning your brush not only improves its performance but also promotes hair health. In this article, I’ll explain everything you need to know about how to clean different types of hairbrushes, how often to do it, and why it matters for your hair.

Why Cleaning Your Hairbrush Is Crucial
When you brush your hair, your hairbrush collects oils, dirt, dead skin cells, and product residue. These unwanted substances can contribute to clogged pores on your scalp, which may lead to irritation or even hair thinning. Cleaning your hairbrush regularly is a simple way to prevent these issues. It also helps your brush perform its job more efficiently, ensuring smoother, healthier hair.
Here’s why cleaning your hairbrush is so important:
- Prevents Product Buildup: If you regularly use styling products, dirt and residue accumulate in your brush, transferring to your hair each time you use it.
- Promotes Scalp Health: A clean brush reduces the risk of clogged pores and scalp irritation.
- Increases Brush Longevity: Regular cleaning helps your brush last longer by removing debris and preventing wear and tear.
How Often Should You Clean Your Hairbrush?
The frequency of cleaning depends on how often you use your hairbrush and the products you use. Here’s a guideline to follow:
| Brush Type | Cleaning Frequency |
|---|---|
| Brushes used daily with styling products | Clean weekly |
| Brushes used occasionally | Clean bi-weekly |
| Brushes used with minimal products | Clean monthly |
If you use styling products like mousse, hairspray, or gel, it’s a good idea to clean your brush at least once a week to prevent buildup. For those with a more natural hair care routine, cleaning every two weeks or monthly should suffice.

Step-by-Step Guide to Cleaning Your Hairbrush
Step 1: Remove Hair Strands
Before cleaning your brush, remove any hair caught in the bristles. Use your fingers, a rat-tail comb, or scissors to gently pull out the hair. This is the most basic yet essential step in the cleaning process.
Step 2: Prepare a Cleaning Solution
- Plastic or Metal Brushes: Fill a bowl with warm water and add a few drops of mild shampoo or dish soap. To combat stubborn buildup, you can also mix in 1-2 teaspoons of baking soda.
- Wooden Brushes: Wooden brushes should not be submerged in water. Instead, mix 1 cup of water with 5 drops of tea tree oil, and use a damp cloth to wipe down the bristles and the base.
- Boar Bristle Brushes: Clean with mild shampoo or soap, using a damp cloth to gently wipe down the bristles without soaking them.
Step 3: Clean the Brush
- Plastic or Metal Brushes: Submerge the bristles in the cleaning solution for 3-5 minutes to loosen oils and dirt. Use an old toothbrush to scrub the base of the brush and the bristles.
- Wooden Brushes: Do not soak. Instead, dip a cloth in the solution and wipe the bristles gently. Never let the brush sit in water, as this can damage the wood.
- Boar Bristle Brushes: Wipe down the bristles with a damp cloth soaked in the shampoo solution, ensuring no excess water enters the base.
Step 4: Rinse and Dry
- Rinse: Once the brush is clean, rinse it under cool water to remove soap residue.
- Dry: Gently shake off excess water and place the brush bristle-side down on a towel to air dry completely.
Tip for Wooden Brushes: Wooden brushes should be placed bristle-side down on a towel and should not be left in direct sunlight to dry.
Additional Tips for Hairbrush Care
Regularly cleaning your brush is just one part of maintaining it. Here are some tips to help your brush last longer and function better:
- remove hair After Every Use: After each brushing session, remove hair caught in the bristles to prevent buildup.
- Avoid Excessive Product Use: Limit the use of heavy styling products, as these can cause buildup and make your brush harder to clean.
- Dry Your Brush Thoroughly: Always allow your brush to dry completely before using it again. Excess moisture can lead to mold, especially on wooden brushes.
- Deep Cleaning: If your brush has heavy buildup, soak it in a mixture of warm water, vinegar, and baking soda for 15-20 minutes. After soaking, scrub the brush with a toothbrush to remove stubborn residue.
Conclusion
A clean hairbrush is essential for maintaining healthy hair and a clean scalp. By following these simple steps, you can ensure your brush remains in top condition and helps you achieve the best results for your hair. Whether you’re dealing with oils, dirt, or product residue, cleaning your brush regularly will promote better hair health, smoother locks, and a longer-lasting brush. Make this a part of your regular hair care routine to keep your hairbrush—and your hair—in optimal condition.
Frequently Asked Questions (FAQs)
- Can I use any shampoo to clean my hairbrush?
- Yes, any mild shampoo or dish soap is fine for cleaning hairbrushes.
- Is it safe to soak wooden brushes?
- No, wooden brushes should not be soaked. Instead, wipe them down with a damp cloth to avoid damaging the wood.
- How can I remove lint from my hairbrush?
- Use a rat-tail comb or tweezers to gently pull out any lint caught in the bristles.
- Can I use vinegar to clean my hairbrush?
- Yes, vinegar works well to remove buildup. Mix one part vinegar with four parts water and soak the brush for 10 minutes.
- How do I clean a round brush?
- Use scissors to cut through any hair wrapped around the brush, then follow the regular cleaning steps.
- How can I prevent product buildup in my hairbrush?
- Regularly clean your brush and avoid excessive use of heavy styling products to minimize buildup.
